Buying guide
Trekking Poles 101: When They Help, When They Don't
Disclosure: Four Seasons Gear is reader-supported. When you buy through links on our site, we may earn an affiliate commission at no extra cost to you. Prices and availability are accurate as of the time we last checked.
What You're Really Deciding
The trekking pole decision boils down to three axes: **load transfer** (how much weight you can offload from legs to arms), **terrain suitability** (steep descents vs. flat trails vs. scrambles), and **carry penalty** (the 8–20 oz per pair you're adding to your kit plus the hand occupation). Poles shine when descending with a heavy pack on sustained grades over 10%, where studies show they reduce peak knee force by 20–25%. They're dead weight on flat approaches, a liability in technical scrambles, and a nuisance if you're constantly stopping to use the Garmin inReach Mini 2 Satellite Communicator or check the Garmin GPSMAP 67 Handheld GPS.
Core Specifications Explained
Understanding pole specs means knowing what actually affects performance in the field versus what's marketing noise.
Shaft Material
Aluminum alloys (typically 7075-T6) weigh 16–20 oz per pair, cost $60–120, and bend rather than shatter under overload—you can often field-straighten a bent aluminum pole. Carbon fiber poles weigh 12–16 oz per pair, cost $120–200+, and offer better vibration damping on rocky trails but catastrophically fail (splinter) if you side-load them on a scramble or catch a basket on a root. For general backpacking, aluminum's forgiveness outweighs the 4 oz penalty; carbon makes sense for high-mileage thru-hikers who've mastered pole technique and won't abuse them.
Locking Mechanism
Twist locks (expanding internal cam) are lighter (0.5–1 oz per pole) and have fewer parts to ice up, but require 3–5 full rotations to adjust and can loosen mid-hike if undertightened. Lever locks (external clamp) adjust in one motion, provide visual confirmation of engagement, and are easier to operate with gloves, but add 1–1.5 oz per pole and can freeze in wet snow. Folding poles (cord-tensioned segments) pack to 12–15 inches for travel but sacrifice adjustability and are 2–3 oz heavier than equivalent telescoping designs. For four-season use, lever locks are the pragmatic choice; twist locks work fine in dry climates.
Adjustability Range
Most poles adjust from 24–55 inches (60–140 cm) in 2-inch increments via 2- or 3-section telescoping shafts. Proper length is elbow at 90° when pole tip is on flat ground; you'll shorten 2–3 inches for ascents, lengthen 2–3 inches for descents. Fixed-length poles save 2–3 oz and eliminate a failure point but only work if you hike consistent terrain and never share gear—fine for a dedicated thru-hiker, impractical for weekend warriors. Z-fold poles typically offer 4–6 inches of adjustment via a single telescoping section, enough for minor tweaks but not terrain adaptation.
Grip Material and Shape
Cork grips (most common) wick moisture, conform to your hand over time, and stay warm in cold weather but degrade if stored wet. EVA foam grips are more durable, easier to clean, and work better in extreme cold but don't mold to your hand and can feel slippery when wet. Rubber grips are rare on quality poles—they blister easily and retain sweat. Grip shape matters: 15° ergonomic angles reduce wrist strain on long days; extended foam below the grip (common on Black Diamond and Leki models) lets you choke down 6–8 inches for steep ascents without readjusting length.
Basket and Tip Options
Standard trekking baskets (2–2.5 inches diameter) are for hardpack and rock; snow baskets (4–5 inches) prevent postholing in powder and add 0.5 oz per pole. Carbide or steel tips bite into rock and ice; rubber tip protectors reduce noise on pavement and prevent tip damage during travel but should be removed on trail (they reduce traction and wear out in 20–30 miles). Interchangeable baskets are standard on $80+ poles; budget models often have fixed baskets that limit versatility.
Myth vs. Reality: Poles and Energy Expenditure
When Poles Actually Help
Poles deliver measurable benefits in specific contexts, not universally.
Steep Descents with Load
On sustained downhills over 15% grade with a 30+ lb pack, poles reduce peak impact force on knees by 20–25% per step. Over a 3,000-foot descent, that's 15,000–20,000 steps of cumulative joint preservation. This is the single strongest evidence-based use case. If your trip involves big elevation loss days (think rim-to-river Grand Canyon or High Sierra passes), poles are non-negotiable for long-term knee health.
Stream Crossings and Unstable Surfaces
Two extra points of contact transform sketchy log crossings and swift water fords from balance tests to manageable obstacles. Poles let you probe depth, test substrate stability, and recover from slips before they become falls. On talus, scree, or wet roots, the stability benefit is real—but only if you've practiced pole placement enough that it's automatic, not a distraction.
Snow and Soft Ground
With 4-inch snow baskets, poles provide float and rhythm on snowfields and sandy trails where foot placement is unpredictable. They're not a substitute for an ice axe on steep snow (wrong tool, wrong technique), but for moderate snow approaches and postholing through breakable crust, they're legitimately useful.
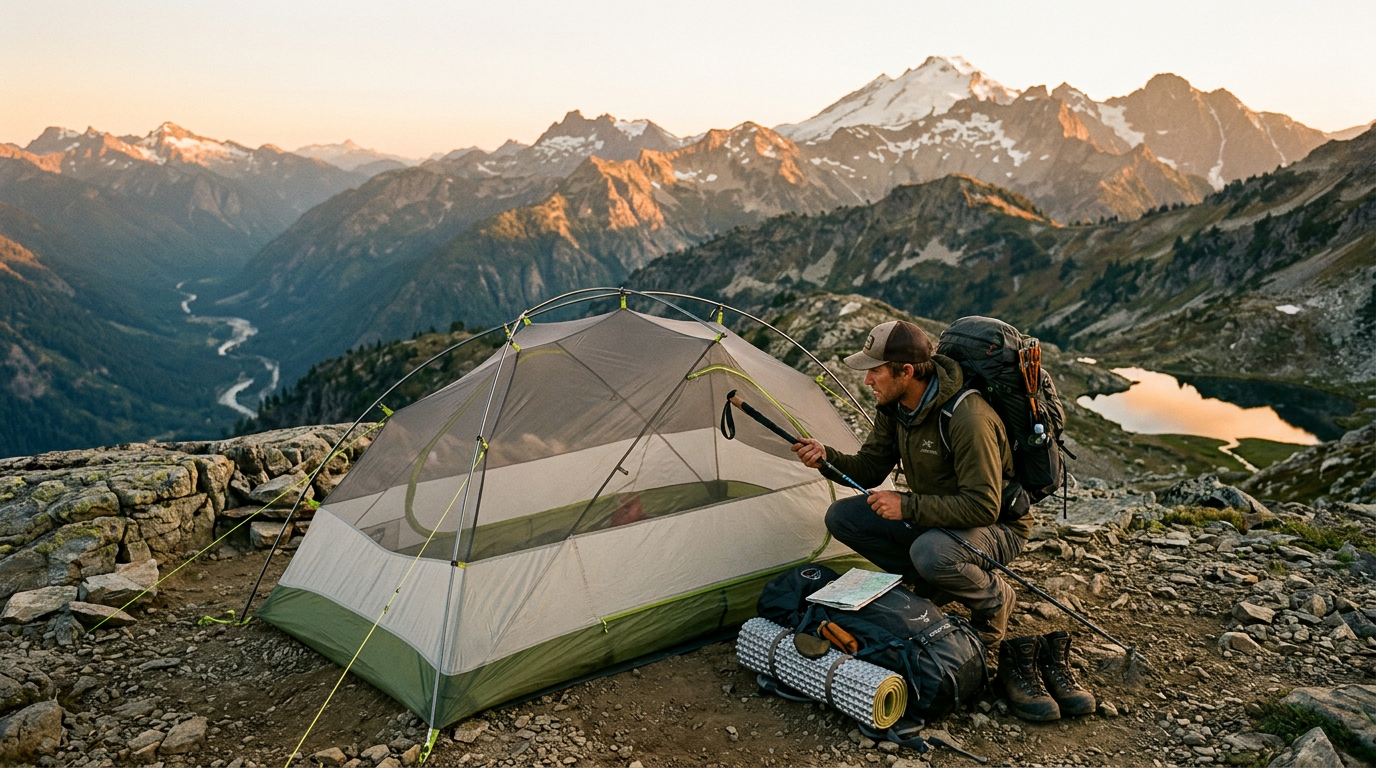
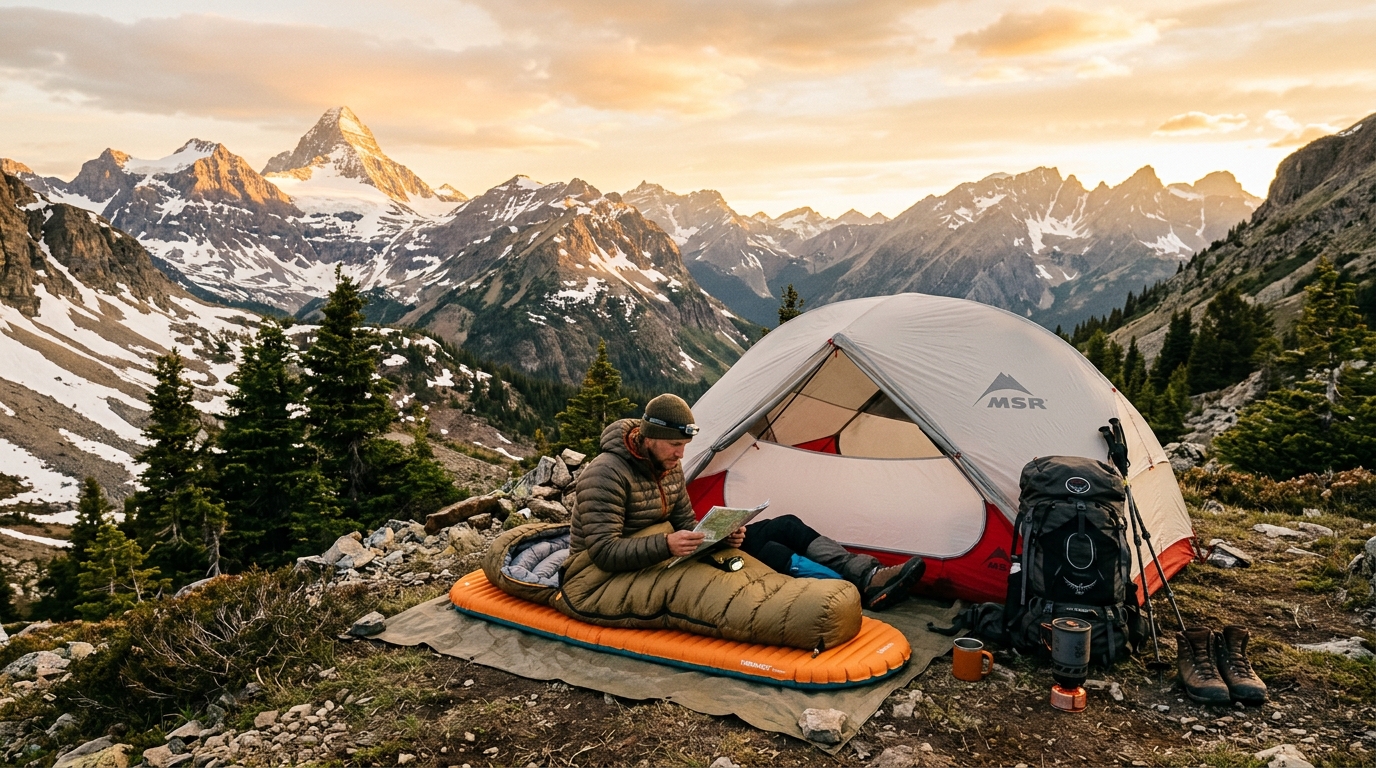
Tent Setup
Many ultralight shelters—including the Big Agnes Copper Spur HV UL Ultralight Bikepacking Tent—use trekking poles as structural elements, saving 8–12 oz of dedicated tent poles. If you're already carrying poles for hiking, this dual-use is pure efficiency. If you're only bringing poles *for* the tent, you're better off with a freestanding design like the Kelty Late Start 2 Backpacking Tent and leaving the poles home.
When Poles Are Dead Weight
Poles become a liability in several common scenarios.
Flat, Well-Maintained Trails
On groomed paths with minimal elevation change, poles offer no biomechanical advantage and actively hinder your ability to use hands for other tasks—adjusting the Garmin Instinct 2 Solar GPS Watch, taking photos, snacking, or using the Sawyer Squeeze Water Filter System. The 16 oz you're carrying is better spent on extra water capacity or a lighter pack.
Technical Scrambles and Class 3+ Terrain
Once you need hands for handholds, poles become a storage problem. Stowing them on a pack (straps or bungees) works for short sections but is awkward for extended scrambles. Poles also encourage poor technique—planting them on loose rock above you can dislodge hazards onto partners below. If your route involves sustained Class 3 or harder, leave poles in camp.
Dense Brush and Tight Switchbacks
In overgrown trails or steep switchbacks with tight radius turns, poles snag on vegetation and require constant repositioning. The cognitive load of managing pole placement exceeds any stability benefit. This is common in Pacific Northwest forests and Appalachian rhododendron thickets.
High Wind or Lightning Risk
Carbon fiber poles act as lightning rods (aluminum less so but still conductive). In exposed alpine terrain during afternoon thunderstorm season, stowing poles reduces your electrical profile. High winds also make poles sail-like and exhausting to control—better to lower your center of gravity and use hands on rock.
Match the Gear to Your Trip
Use this decision tree to determine if poles belong in your kit:
- **Big elevation loss (2,000+ ft) with 30+ lb pack:** Bring aluminum poles with lever locks. Prioritize durability and adjust length for descents. Worth the weight for joint preservation.
- **Thru-hiking or high daily mileage (15+ mi) on moderate terrain:** Carbon fiber poles with cork grips. The 4 oz savings and vibration damping pay off over hundreds of miles. Use for tent setup if running an ultralight shelter.
- **Day hikes under 20 lbs on rolling terrain:** Optional. Bring poles if you have knee issues or enjoy the rhythm; skip them if you prefer hands-free for the Garmin Fenix 7X Sapphire Solar Smartwatch or the Bushnell H2O Waterproof 10x42 Binoculars for wildlife spotting.
- **Snow travel or spring shoulder season:** Aluminum poles with interchangeable baskets. Swap to 4-inch snow baskets for soft conditions; keep trekking baskets for mixed terrain.
- **Scramble-heavy routes or technical peaks:** Leave poles at home or in camp. They're a liability above Class 2 terrain.
- **Flat, groomed trails or urban hiking:** Skip poles entirely unless you have specific mobility needs. The weight and hassle aren't justified.
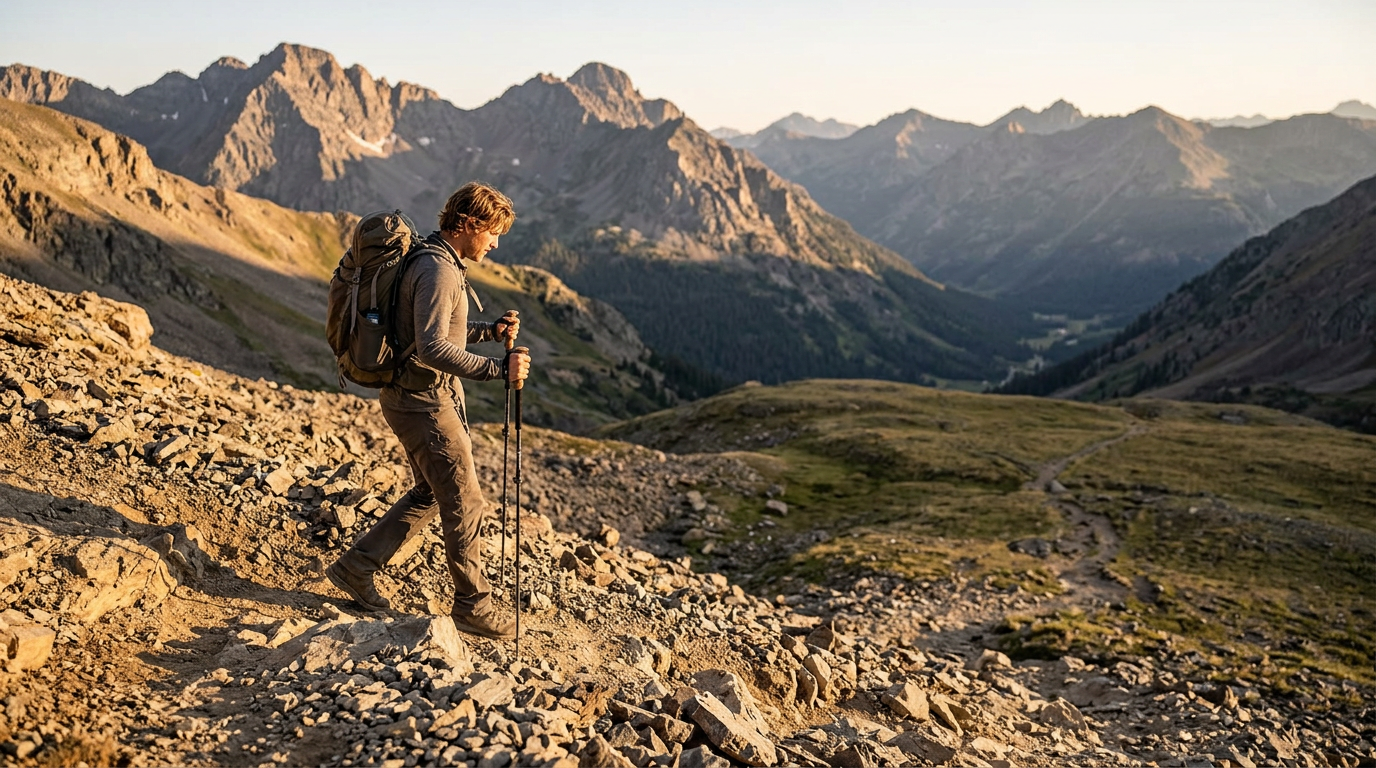
Technique Fundamentals
Poles only work if you use them correctly. Poor technique wastes energy and increases injury risk.
Proper Length Adjustment
On flat ground, adjust so your elbow forms a 90° angle when the tip is planted. For ascents, shorten 2–3 inches so you're not reaching overhead (wastes energy and strains shoulders). For descents, lengthen 2–3 inches so you're not hunched over (strains back and reduces braking effectiveness). Many hikers never adjust and wonder why poles feel awkward—length matters more than grip comfort.
Planting Pattern
Use an opposite-arm, opposite-leg pattern: right pole plants as left foot steps forward. This maintains natural gait rhythm and distributes load evenly. Double-poling (planting both poles simultaneously) is only for steep ascents where you're pulling yourself up—it's exhausting and inefficient on moderate terrain.
Wrist Strap Use
Thread straps from below (hand comes up through loop, then grips pole). This lets you push down on the strap during the power phase without death-gripping the handle. Proper strap use reduces forearm fatigue by 30–40% on long days. Tighten straps enough to support your hand but loose enough to release quickly if a pole snags.
Durability and Maintenance
Poles are simple tools but require basic care to last multiple seasons.
Lock Mechanism Care
Lever locks need occasional tightening (small Phillips screw inside the clamp adjusts tension). If they slip under load, tighten 1/4 turn and test. Twist locks fail when grit gets inside the expander—rinse with clean water after dusty or sandy hikes. In winter, dry locks thoroughly before storage to prevent corrosion.
Tip and Basket Replacement
Carbide tips wear down after 500–800 miles on rock (you'll notice reduced bite). Replacement tips cost $8–15 per pair and thread or friction-fit onto the shaft. Baskets crack in cold weather or when levered against rocks—carry a spare set on long trips. Most manufacturers sell replacement parts; generic tips fit most poles but verify thread pitch (common sizes are 7mm and 8mm).
Shaft Inspection
Check aluminum poles for cracks at lock points and bends that affect collapse. Small bends (under 10°) can be carefully straightened over a knee; larger bends compromise strength. Carbon fiber poles should be inspected for splintering or delamination—any visible damage means retirement. Don't trust a damaged carbon pole; catastrophic failure mid-descent can cause serious injury.
Weight and Packability Trade-offs
Pole weight ranges from 12 oz per pair (ultralight carbon) to 22 oz per pair (burly aluminum). For reference, that's equivalent to carrying an extra Petzl Tikkina Headlamp and the MSR PocketRocket 2 Stove. Packed length for telescoping poles is 24–26 inches (won't fit inside most packs); Z-fold poles collapse to 12–15 inches (fit inside a 50L pack) but sacrifice adjustability. If you're flying or taking public transport, folding poles are worth the 2–3 oz penalty; for car camping and trailhead starts, telescoping poles are more versatile.
Cost-Benefit Analysis
Budget aluminum poles ($40–60) work fine for occasional use but often have sloppy locks and uncomfortable grips. Mid-tier aluminum ($80–120) is the sweet spot: reliable locks, decent grips, interchangeable baskets. Premium carbon ($150–220) is only justified for high-mileage users (500+ miles/year) where the weight savings and vibration damping compound. Buying used poles is risky—you can't verify shaft integrity or lock wear, and a $30 savings isn't worth a mid-hike failure.
Alternatives and Complementary Tools
Poles aren't the only stability aid. A single hiking staff (traditional wood or aluminum) provides balance with one free hand and weighs 8–12 oz—good for photographers or navigators who need frequent gear access. Microspikes or Kahtoola crampons provide better traction than poles on ice (poles prevent slips; traction devices prevent falls—different problems). For alpine routes, an ice axe is mandatory and makes poles redundant; don't try to carry both unless you're on a multi-day approach hike followed by a technical climb.
Frequently Asked Questions
+Do trekking poles actually prevent knee injuries?
Poles reduce peak impact force on knees by 20–25% during descents, which decreases cumulative stress over thousands of steps. This is preventive, not curative—poles won't fix existing injuries but can slow cartilage degradation in healthy joints. The effect is most pronounced with heavy packs (30+ lbs) on steep grades (15%+). On flat terrain or with light loads, the biomechanical benefit is negligible.
+Can I use ski poles for hiking?
Ski poles work in a pinch but have significant drawbacks: they're typically fixed-length (wrong for terrain adjustment), lack interchangeable baskets (snow baskets are too large for summer trails), and use grips optimized for gloved hands (uncomfortable bare). If you already own adjustable ski touring poles, they're adequate for occasional hiking. Don't buy ski poles specifically for hiking—proper trekking poles cost the same and perform better.
+How do I carry poles when not using them?
Most packs have side compression straps or dedicated pole loops. Invert poles (tips up) and secure tips in lower loops, then use upper straps to cinch shafts against the pack. This keeps them accessible but not dangling. Some packs have diagonal carry systems that balance weight better. For short sections (stream crossings, scrambles), collapse poles and stow horizontally across the top of your pack under the lid. Never carry poles pointing down—they snag on everything and are a hazard to hikers behind you.
+Should I get shock-absorbing poles?
Internal spring mechanisms (anti-shock) reduce vibration on hard surfaces and theoretically decrease arm fatigue. In practice, the benefit is marginal—most hikers can't feel a difference after the first hour. Anti-shock adds 2–3 oz per pole, introduces a failure point (springs wear out), and costs $20–40 more. Unless you have existing elbow or wrist issues exacerbated by impact, skip anti-shock and save the weight. The few manufacturers still offering it (Leki, Komperdell) are targeting the joint-pain demographic, not general backpackers.
+Do I need different poles for winter hiking?
You need different baskets, not different poles. Swap standard 2-inch trekking baskets for 4–5 inch snow baskets (most quality poles have threaded or twist-lock basket attachment). Aluminum poles are preferable in winter—carbon becomes brittle below 0°F and is more prone to catastrophic failure if you're breaking trail through icy crust. Ensure your grips are cork or foam (not rubber) and that lever locks have metal components (some plastic locks crack in extreme cold). Otherwise, your three-season poles work fine with basket and technique adjustments.
+How long do trekking poles last?
Aluminum poles last 1,000–2,000 miles of mixed terrain before lock slop or shaft fatigue becomes problematic. Carbon poles fail catastrophically (you'll know immediately) or last indefinitely—there's no gradual degradation. Grips and straps wear out first (300–500 miles of heavy use) but are replaceable for $15–25. Locks can be tightened or rebuilt. If you hike 200 miles per year, expect 5–10 years from quality aluminum poles with basic maintenance. Budget poles rarely make it past 500 miles before locks fail or shafts bend irreparably.