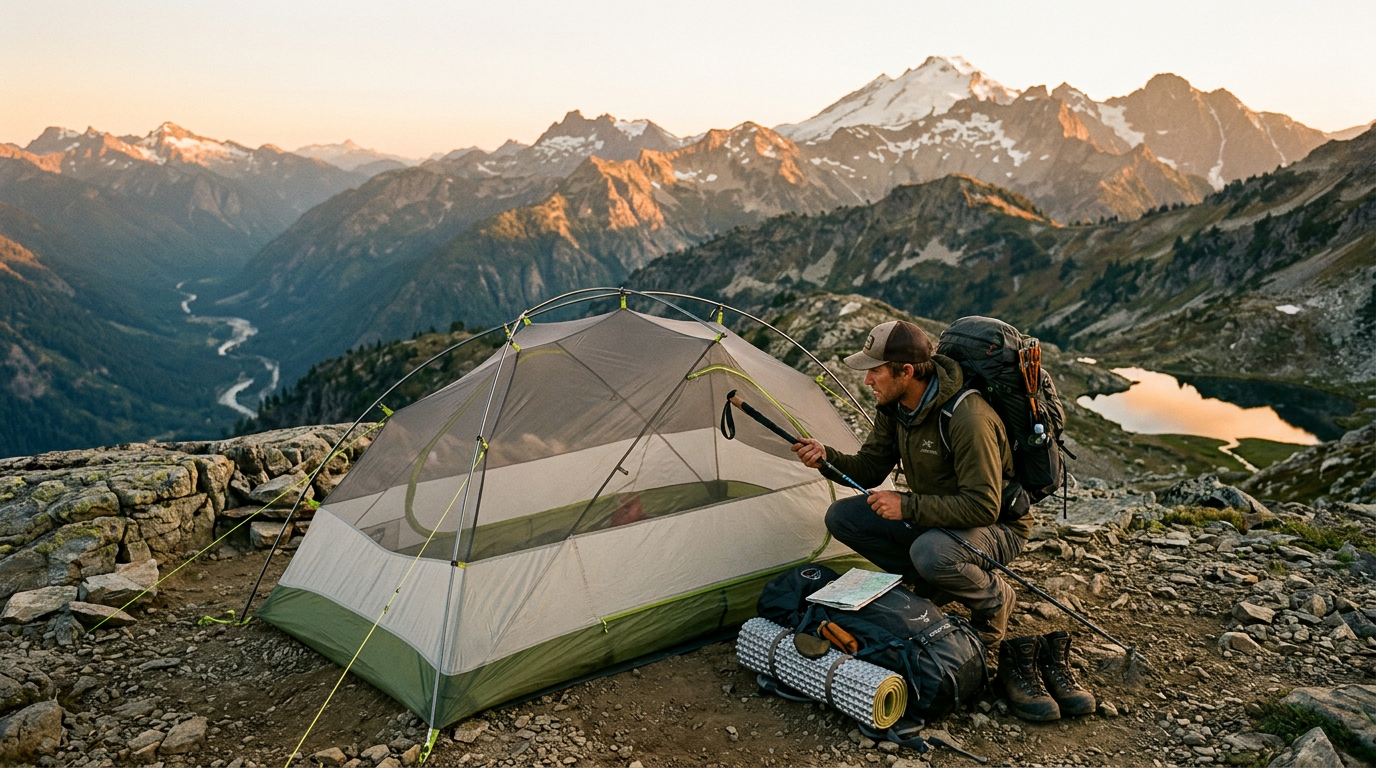
Buying guide
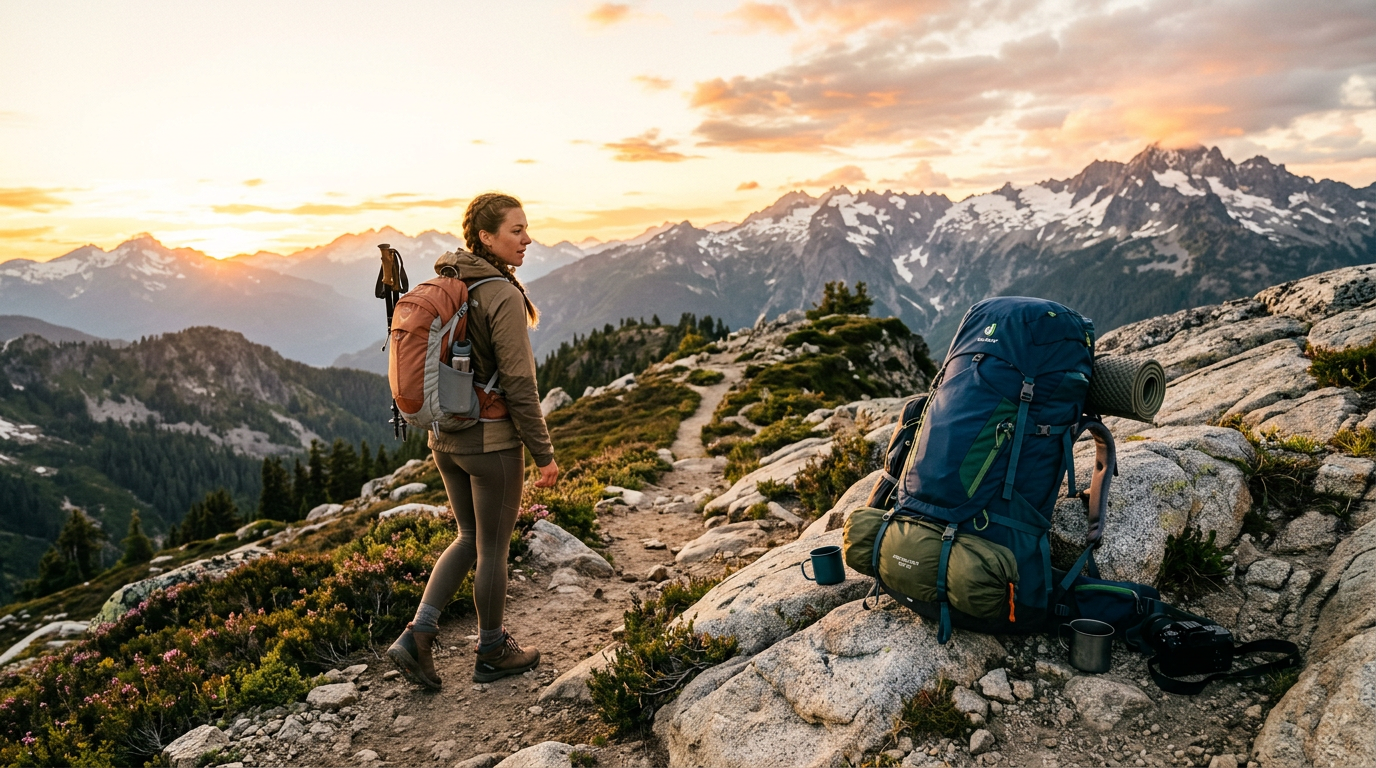
Daypack vs Backpacking Pack: What Size for Which Trip
Disclosure: Four Seasons Gear is reader-supported. When you buy through links on our site, we may earn an affiliate commission at no extra cost to you. Prices and availability are accurate as of the time we last checked.
What You're Really Deciding
Pack sizing boils down to three variables: trip duration, whether you're carrying overnight gear (tent, sleeping bag, pad, stove), and seasonal bulk. A summer overnight in the Sierras with a tarp and quilt needs 40 liters; the same trip in January with a four-season tent and 15°F bag needs 65. The common mistake is buying a 70-liter pack "just in case" and then day-hiking with 50 liters of empty space flopping around your back. Right-sizing matters for load stability, weight distribution, and not looking like you're moving apartments on a trail.
Pack Volume: The Core Spec
Volume is measured in liters and represents total internal capacity plus external pockets. Manufacturers measure this by filling the pack with plastic beads or using CAD models—methods vary, so a "50L" from one brand may feel like 45L from another. Here's the practical range:
Specs
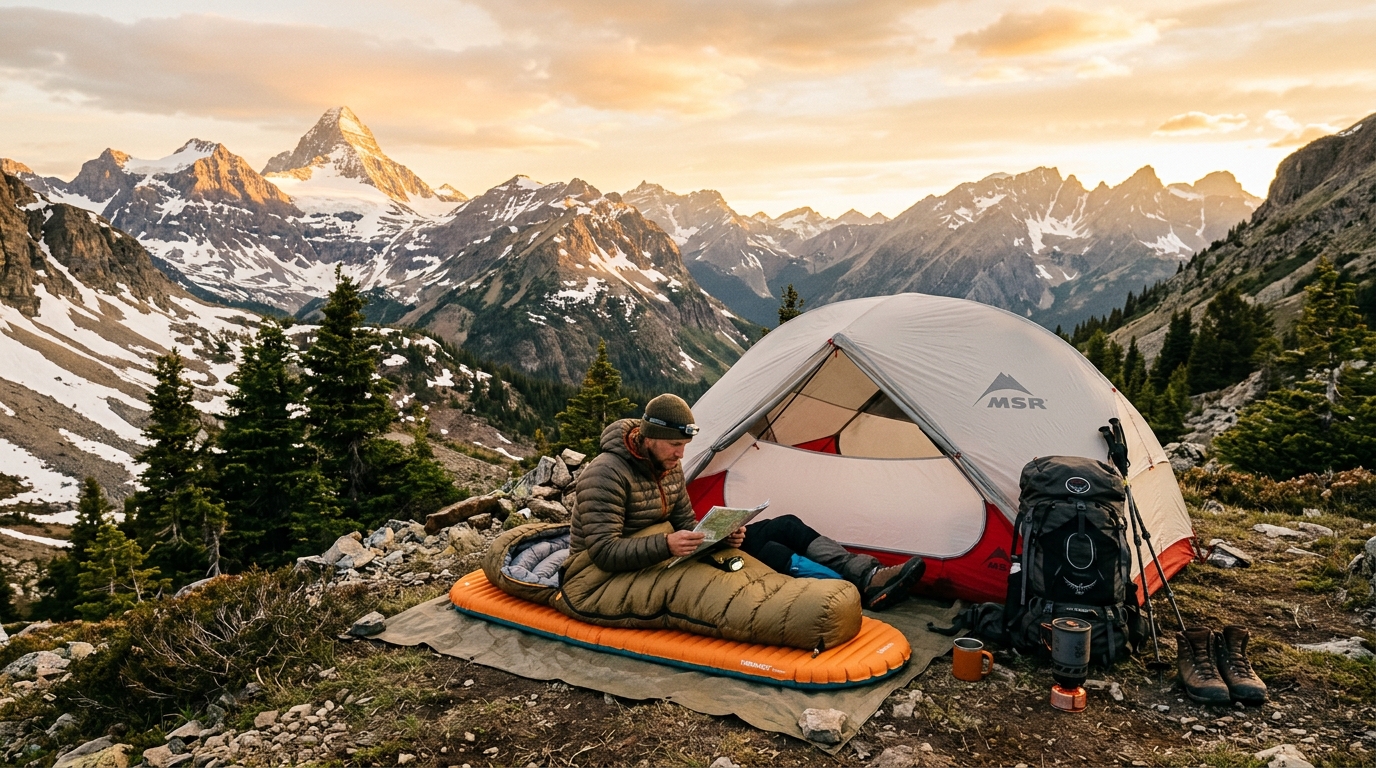
The 50–65L range is the backpacking workhorse. It accommodates a tent like the ALPS Mountaineering Lynx 2-Person Tent, a sleeping pad such as the Therm-a-Rest NeoAir XLite NXT Sleeping Pad Regular, a three-season bag, a stove like the MSR PocketRocket 2 Stove, and four days of food without Tetris-level packing. Go smaller only if you've weighed your gear and know it fits; go larger if you're winter camping or sharing a tent and splitting the load.
Torso Length: The Fit Dimension That Actually Matters
Pack volume gets the attention, but torso length determines whether the hip belt sits on your iliac crest (correct) or floats above it (painful). Torso length is measured from the C7 vertebra (the bump at the base of your neck) to the top of your hip bones—typically 15 to 22 inches. Most packs come in S/M/L torso sizes, with adjustable harnesses adding ±2 inches of range.
If you're between sizes, size down for lighter loads (daypacks, ultralight overnights) and size up for heavier loads (winter trips, expedition packs). A pack that's one size too large will let the load sag; one size too small will dig into your shoulders because the hip belt can't reach.
Load Capacity vs Comfort Range
Volume tells you what fits inside; load capacity tells you how much weight the suspension can handle before it hurts. This is the spec manufacturers bury in fine print. A 30-liter ultralight daypack with a frameless design might list a 15-pound max load. A 65-liter expedition pack with an internal frame and load-lifter straps can handle 50+ pounds.
Specs
The TETON Sports Scout 3400 Backpack, a 55-liter internal-frame pack, exemplifies the multi-day sweet spot: enough volume for a tent, sleeping bag, and food, with a suspension that keeps 35 pounds feeling manageable. Pair it with compact gear—a Jetboil Flash Cooking System instead of a two-burner stove, a Klymit Static V2 Sleeping Pad instead of a bulky self-inflating mat—and you'll stay in the comfort zone.
Pack Weight: The Ounces You Carry Before You Add Anything
A pack's empty weight ranges from 12 ounces (ultralight frameless) to 6 pounds (expedition hauler). Every ounce of pack is an ounce you carry on every trip, so lighter is better—until it compromises durability or comfort under load. The rule: for every 10 pounds of gear you carry, you can afford 1 pound of pack.
- Ultralight daypacks (12–24 oz): Frameless, minimal padding, no bells. For base weights under 15 lbs.
- Standard weekend packs (2.5–4 lbs): Framesheet or light internal frame. For base weights 15–25 lbs.
- Multi-day packs (4–5.5 lbs): Full internal frame, padded hip belt, load-lifters. For base weights 25–40 lbs.
- Expedition packs (5.5–7 lbs): Burly frames, reinforced fabric, lash points for ice axes. For base weights 40+ lbs.
If you're carrying a lightweight tent like the Naturehike Cloud-Up 2 Ultralight Tent and a minimalist sleep system, a 3-pound pack makes sense. If you're hauling a Coleman Sundome Tent and a bear canister, the extra pound of pack structure is worth it.
Access: Top-Loading vs Panel-Loading
Top-loaders (drawstring closure at the top) are lighter and more weather-resistant but require unpacking half your gear to reach the bottom. Panel-loaders (full-length zipper) let you access anything instantly but add 4–8 ounces and create a potential failure point. For multi-day trips where you pack once and don't dig around, top-loading wins. For travel or frequent gear swaps, panel-loading is worth the weight.
Hydration Compatibility
Most packs 20L and up include a hydration sleeve (a pocket against your back) and a hose port (a reinforced hole near your shoulder). Hydration bladders (2–3 liters) let you drink without stopping, but they add 6–8 ounces empty and make it harder to monitor water levels. For day hikes, a bladder is convenient. For multi-day trips, side pockets for a Nalgene 32 oz Wide Mouth Water Bottle are more practical—you can see how much you have left and refill without opening your pack.
External Attachment Points
Lash points, gear loops, and daisy chains let you strap bulky items (tent, sleeping pad, trekking poles) to the outside. This is useful when your pack is stuffed or when you want quick access. Look for:
- Ice-axe loops (reinforced bottom loops + bungee strap at top)
- Trekking-pole sleeves or side compression straps
- Sleeping-pad straps (bottom or top lash points)
- Hipbelt pockets for snacks, phone, or a GPS unit like the Garmin inReach Mini 2 Satellite Communicator
Avoid over-reliance on external carry—dangling gear catches on branches, shifts your center of gravity, and gets wet in rain. Use it for items you'll access frequently (rain shell, water bottle) or truly won't fit inside.
Match the Gear to Your Trip
Here's how to map trip type to pack size and features:
Specs
If you're new to backpacking, start with a 50–60L pack and borrow or rent gear for your first trip. Once you know your actual packed volume (weigh and measure everything), you can size up or down for the next pack.
Compression Straps: Making a Big Pack Work Small
Side compression straps (horizontal straps that cinch the pack's width) and top compression straps (vertical straps from lid to body) let you shrink a 65-liter pack down to 50 liters of usable space. This matters because a half-empty pack is a floppy, unstable pack. Cinch the straps tight on shorter trips to keep the load close to your back and prevent sway.
This is why a single 60-liter pack can handle both a summer weekend (compressed to 45L) and a winter overnight (expanded to full volume). You're not stuck buying two packs unless you're splitting time between ultralight fastpacking and expedition mountaineering.
Ventilation: Mesh Backs vs Tensioned Suspension
Packs either press foam padding against your back (standard) or use a tensioned mesh panel to create an air gap (ventilated). Mesh-back designs reduce sweat by 20–30% but add weight, reduce load stability, and cost $20–50 more. They're worth it for hot climates or high-output activities (trail running, fast day hikes). For multi-day backpacking, standard foam is fine—you're moving slower and the load needs solid contact with your back for stability.
Durability: Denier and Reinforcements
Pack fabric is rated in denier (D), a measure of thread thickness. Higher denier = more abrasion-resistant but heavier. Typical ranges:
Specs
Look for reinforced high-wear zones: bottom panel (where you set the pack down), shoulder strap attachment points, and hipbelt wings. Bartacked stitching (dense cross-hatch pattern) at stress points is a sign of quality construction.
Women's-Specific Fit
Women's packs aren't just smaller men's packs. They feature shorter torso lengths (starting at 14–15 inches vs 16–17), narrower shoulder straps, more conical hip belts (to match wider hips relative to waist), and harness geometry that accommodates chest shape. If you're a woman with a longer torso or a man with a shorter torso, try both and pick based on fit, not label.
Rain Covers and Waterproofing
Most packs are water-resistant (DWR coating) but not waterproof. In sustained rain, water seeps through seams and zippers. Solutions:
- Integrated rain cover (stored in a bottom pocket): adds 3–4 oz, covers the pack but not the hip belt or shoulder straps. Works for light rain.
- Pack liner (trash compactor bag or dry bag): 2 oz, goes inside the pack. Keeps gear dry even if the pack soaks through. More reliable than a rain cover.
- Waterproof stuff sacks for critical items (sleeping bag, down jacket, electronics): 1–2 oz each. Redundant protection.
For multi-day trips, use a pack liner plus waterproof stuff sacks for your sleep system. Rain covers are fine for day hikes but fail in downpours or when you're scrambling through wet brush.
Packing Strategy: The 3-Zone System
Where you place gear matters as much as volume. Use this three-zone system:
- Bottom zone (sleeping bag compartment or bottom 1/3): Sleeping bag, down jacket, camp clothes. Light, bulky items you won't need until camp.
- Middle zone (core of pack, against your back): Heaviest items—food bag, water, stove, bear canister. Keep weight close to your spine and high (between shoulder blades).
- Top zone (top 1/3 and lid pocket): Tent body, rain shell, first aid, snacks. Moderate-weight items you might need on trail.
- External (side pockets, lash points): Tent poles, sleeping pad, water bottles, wet rain gear. Quick-access or won't-fit-inside items.
Pack heavy items too low and you'll feel like you're being pulled backward. Pack them too far from your back and you'll sway side-to-side. The goal: center of mass at mid-back, tight against your spine.
When to Size Up vs Size Down
If you're between two sizes, here's the tiebreaker logic:
Size down if: (1) You're committed to ultralight gear and your base weight is under 15 lbs. (2) You mostly do summer trips in mild climates. (3) You value low pack weight and don't mind careful packing. (4) You're doing fast-and-light objectives where every ounce matters.
Size up if: (1) You're new to backpacking and still dialing in your gear. (2) You do winter trips or shoulder-season camping where clothing bulk matters. (3) You carry group gear (tent, stove, first aid for others). (4) You prefer having extra space rather than Tetris-ing every item.
The 50–65L range is forgiving enough that most people can make either end work with compression straps and smart packing. The 30–40L range is not—if your gear doesn't fit, it doesn't fit.
Myth vs Reality: "Bigger Pack = More Comfortable"
Testing Fit Before You Buy
Trying on an empty pack in a store tells you almost nothing. Load it with 20–30 pounds (sandbags, water bottles, store gear) and wear it for 10 minutes. Walk around, adjust the straps, and check:
- Hip belt sits on your iliac crest with 1–2 inches of strap overlap (not maxed out or barely closed)
- Shoulder straps don't gap at the top or dig into your armpits
- Load-lifter straps (from top of shoulder straps to pack body) angle 45° back when tightened
- Sternum strap crosses your chest 2–3 inches below your collarbone, not at your neck
- You can look up without the pack hitting your head, and down without it pulling you backward
If anything feels wrong loaded, it'll feel worse after 10 miles. Don't compromise on fit to save $50.
+Can I use a 65-liter pack for day hikes if I cinch it down?
Technically yes, but it's awkward. Even fully compressed, a 65L pack has a tall profile that throws off your balance on easy trails, and the hip belt and frame add 2–3 pounds you don't need for a day hike. If you only want one pack and do both day hikes and overnight trips, get a 50L pack—it'll work for summer overnights with ultralight gear and compress enough for day use. Or buy a $40 frameless daypack as a second pack; the weight and bulk savings are worth it.
+How do I know if my gear will fit in a 50-liter pack?
Weigh and measure your gear. A 50L pack works if your total gear volume (minus worn items and water) is under 45 liters—the extra 5L is for food and packing inefficiency. As a rough benchmark: a two-person tent like the ALPS Mountaineering Lynx 2-Person Tent is ~6L, a sleeping bag is 8–12L depending on temperature rating, a pad like the Therm-a-Rest NeoAir XLite NXT Sleeping Pad Regular is 3L, a stove and fuel is 1L, clothing is 5–8L, and two days of food is 4–6L. That totals 27–36L, leaving margin. If you're over 45L, size up to 60L.
+What's the difference between base weight and total pack weight?
Base weight is everything in your pack except consumables (food, water, fuel). It's the weight you start with on day one and end with on the last day. Total pack weight is base weight plus consumables. A 15-pound base weight with 8 pounds of food and 4 pounds of water is a 27-pound total pack weight on day one. Base weight is the number to optimize—swap heavy gear for lighter equivalents. Total pack weight fluctuates as you eat food and drink water, so it's less useful for planning.
+Do I need a different pack for winter camping?
Not necessarily a different pack, but you need more volume. Winter gear is bulkier: a 15°F sleeping bag is 12–15L vs 8L for a 30°F bag, a four-season tent is 8L vs 5L for a three-season tent, and you're carrying extra clothing layers (puffy jacket, insulated pants, heavier gloves). A 50L summer pack becomes a 65L winter pack for the same trip length. If you already own a 60–65L pack, it'll handle both. If you're buying your first pack and plan to camp year-round, get 60L minimum.
+Should I get a pack with a built-in hydration bladder or use bottles?
Depends on trip length and water access. Hydration bladders (2–3L) are convenient for day hikes—you drink more because it's easier, and you don't stop to pull out a bottle. But they're harder to refill (you have to open your pack), harder to clean (mold grows in the hose), and you can't see how much water is left. For multi-day trips, side pockets for bottles like the Nalgene 32 oz Wide Mouth Water Bottle are more practical. You can refill without unpacking, monitor your water level, and use the bottle for cooking or filtering with a Sawyer Squeeze Water Filter System. Many packs offer both—a hydration sleeve and side pockets—so you're not locked in.
+How tight should the hip belt be?
Tight enough that the pack doesn't bounce when you walk, but not so tight that it restricts breathing or digs into your hip bones. The hip belt should carry 80% of the pack's weight; shoulder straps are for stability, not load-bearing. To dial it in: loosen all straps, put the pack on, position the hip belt on your iliac crest (top of your pelvis), cinch the hip belt first, then snug the shoulder straps just enough to keep the pack upright, then tighten the load-lifter straps to pull the top of the pack toward your shoulders. If your shoulders hurt after an hour, the hip belt isn't tight enough or isn't positioned correctly.
+What's a reasonable price range for a backpacking pack?
Budget packs (under $100) like the TETON Sports Scout 3400 Backpack work for casual use but often have heavier frames, lower-denier fabric, and less adjustability. Mid-range packs ($150–300) offer better suspension, lighter weight, and more refined fit systems—this is the sweet spot for most backpackers doing 5–10 trips per year. High-end packs ($300–500+) use premium materials (Dyneema, carbon fiber frames), save 1–2 pounds, and include advanced features like removable frames or modular components. For your first pack, spend $150–250 and prioritize fit over features. Upgrade to high-end only if you're logging 30+ nights per year and have already optimized the rest of your kit.